Matrix Usage Guide at ISIMA — Part 1: Element Web✯
Documentation intended for users of the ISIMA (LIMOS Laboratory) Matrix messaging service. This first part covers first web login, saving the recovery key, and accessing rooms. A second part will cover mobile device connections (Android / iOS).
What is Matrix / Element?✯
- Matrix is the federated messaging protocol used by the laboratory (server
isima.fr). - Element is the application you use to connect to it.
- Web interface: https://chat.isima.fr — Matrix server (homeserver): https://matrix.isima.fr — Mobile: Element Android and iOS applications (see Part 2).
Your Matrix account is your ISIMA account: no need to create an additional password; login is handled through the school’s single sign-on (SSO). Your Matrix ID follows the format @username:isima.fr — for example @tibertra:isima.fr — where username is your ISIMA ID.
First Login on https://chat.isima.fr✯
Accessing the Service✯
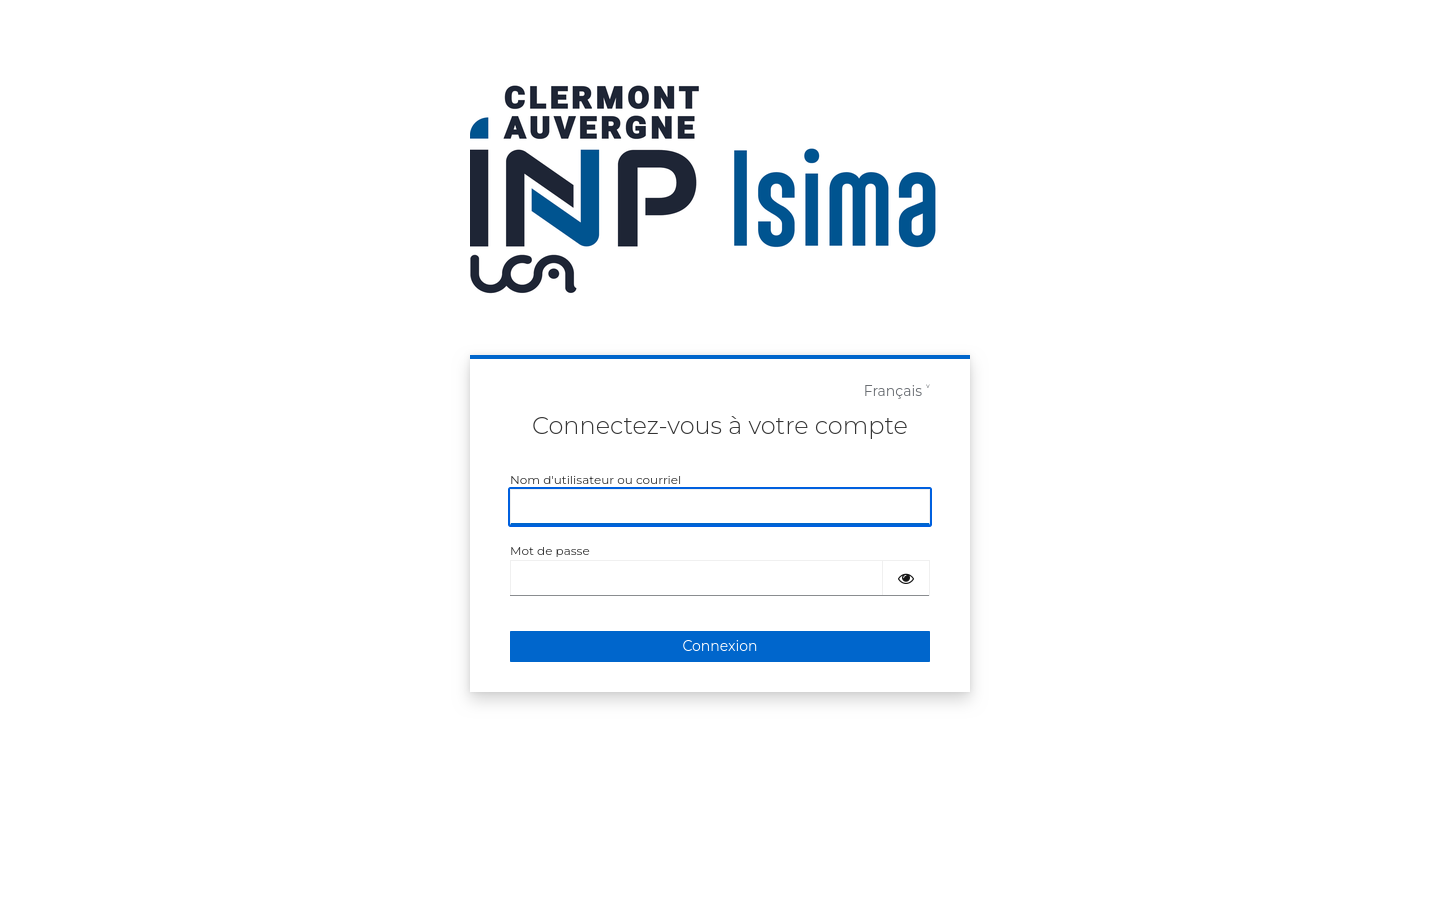
Go to https://chat.isima.fr using your browser (Firefox, Chrome, Edge…). The page will automatically redirect you to the school’s authentication portal.
Enter Your ISIMA Credentials✯
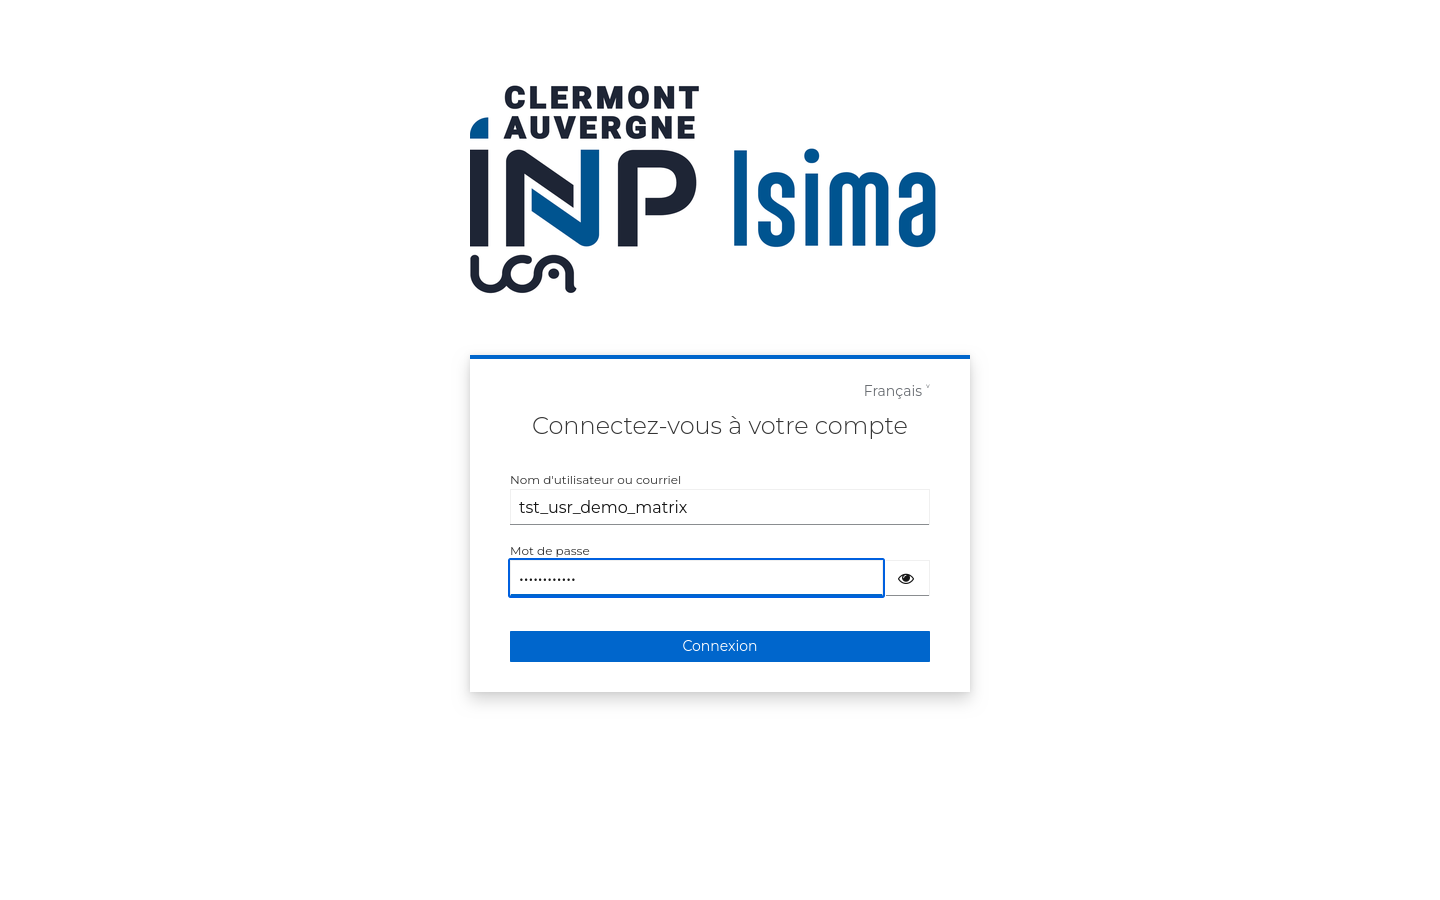
On the “Connectez-vous à votre compte” (Connect to your account) page (ISIMA portal):
- Username or email: your standard ISIMA ID.
- Password: your usual ISIMA password.
- Click Connexion (Login).
The “Français / English” selector at the top of the page changes the portal’s language.
First Login: Matrix Account Creation✯
On your very first login, a page titled “Importez vos données” (Import your data) appears (MAS — matrix-authentication-service). It summarizes the information automatically imported from your ISIMA account:
- Matrix ID: assigned according to the server’s policy (not modifiable);
- Email address: your ISIMA email;
- Display name: the name that will be shown to other users.
Verify the proposed display name and click Créer un compte (Create Account).
Authorize Element to Access Your Account✯
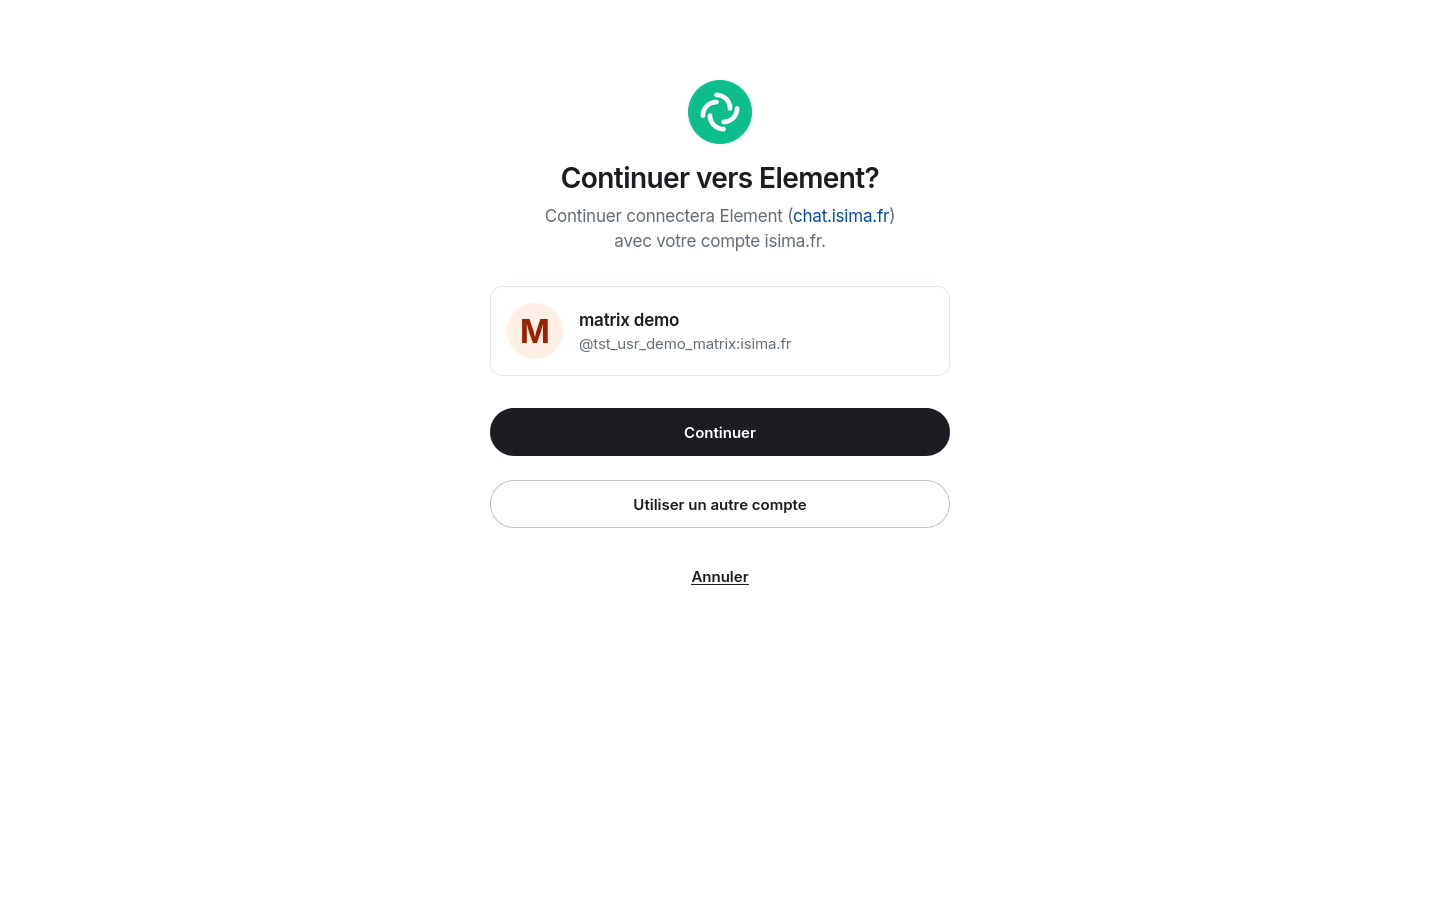
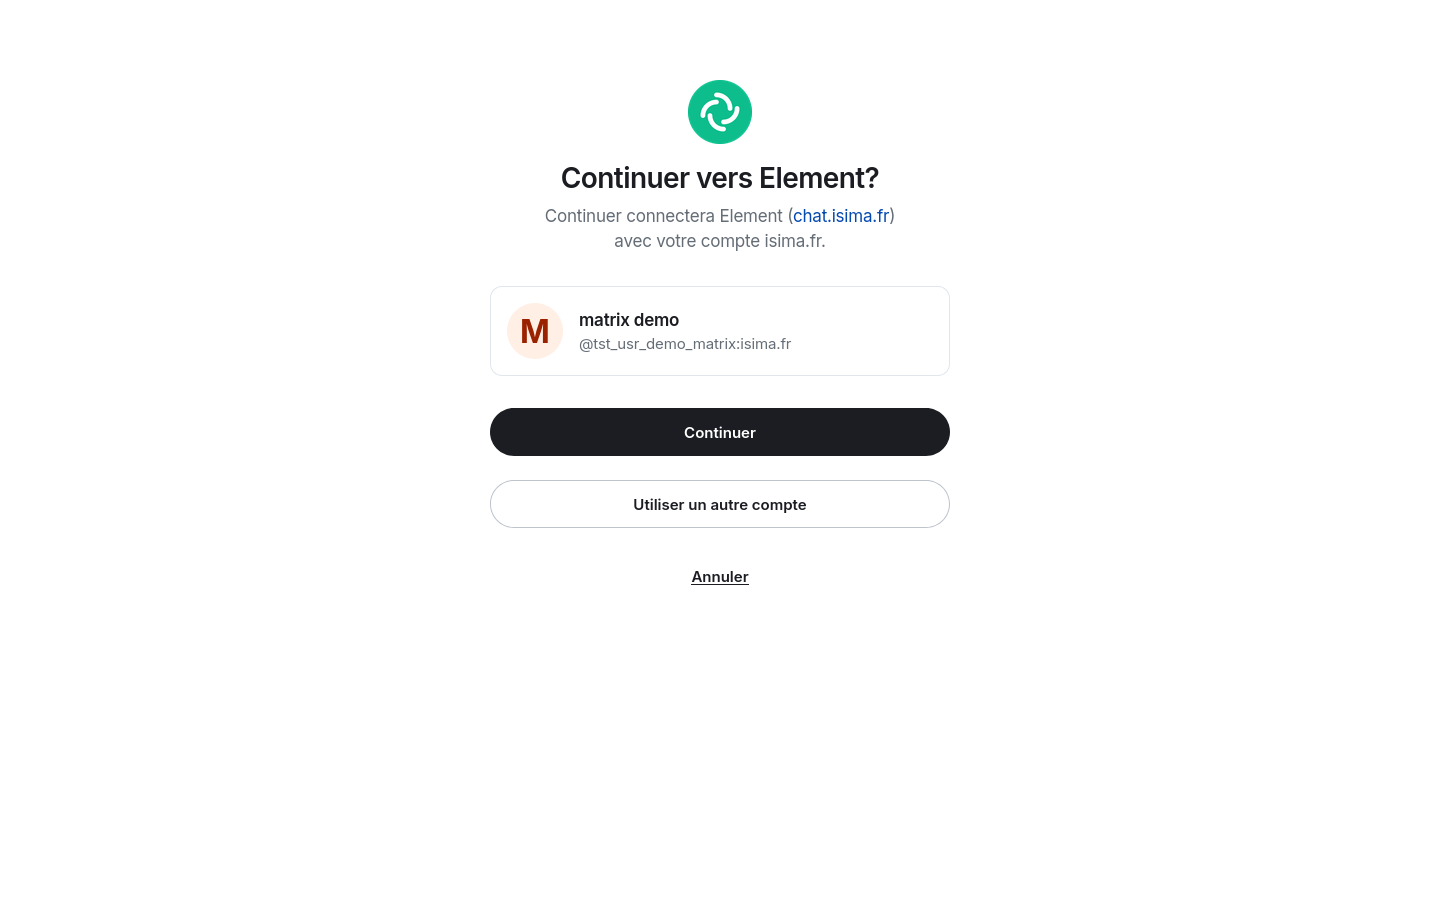
A page titled “Continuer vers Element ?” (Continue to Element?) asks you to authorize the web application to use your account. Click Continuer (Continue).
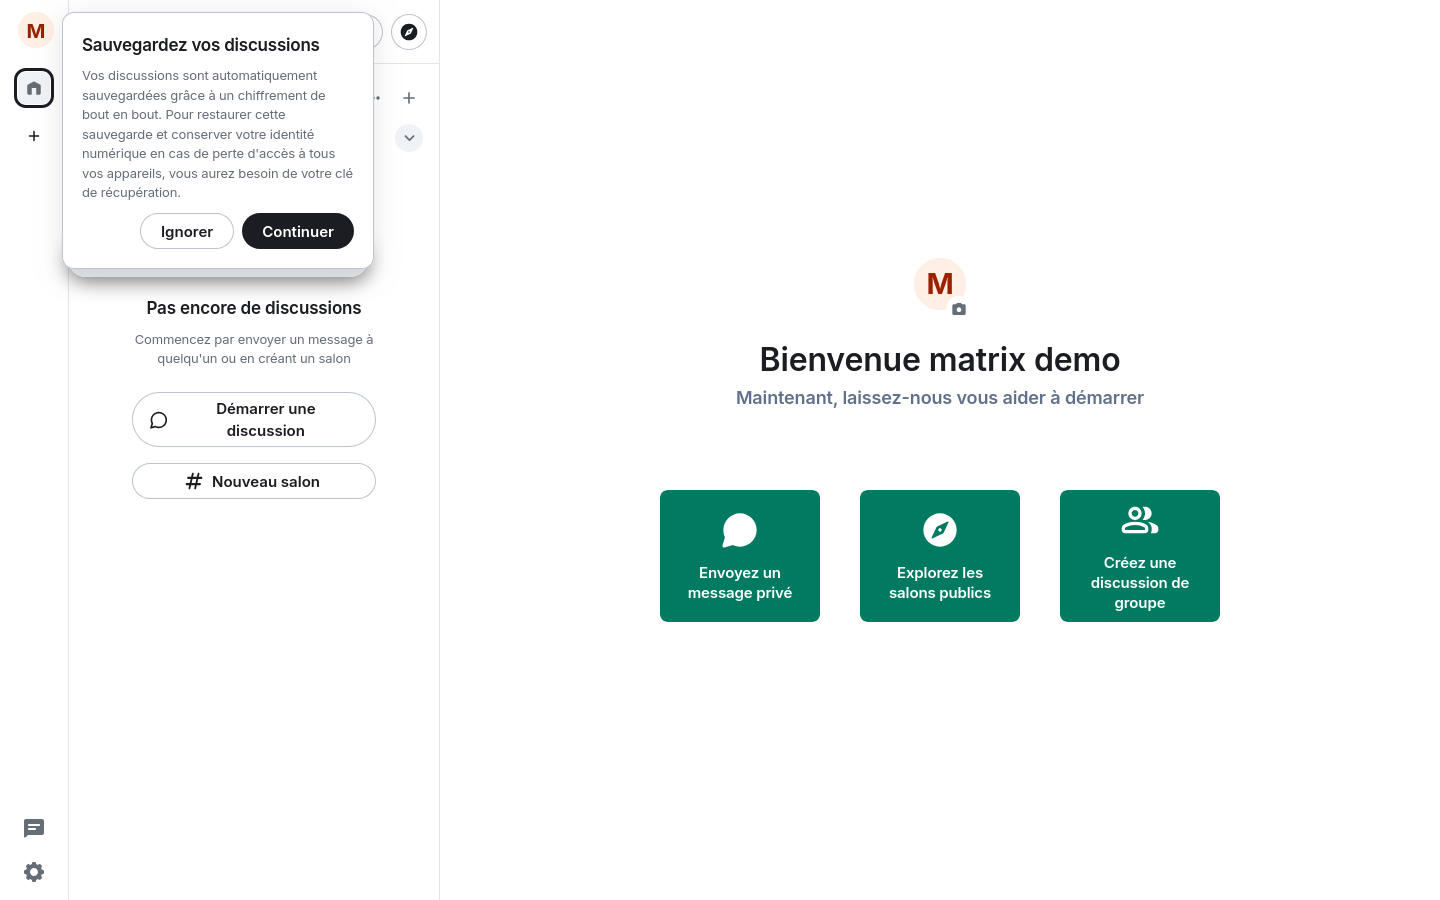
You will arrive at the Element home screen: the left column lists your conversations, and the central banner offers initial actions (private message, exploring rooms, creating a room).
Save Your Recovery Key (Essential)✯
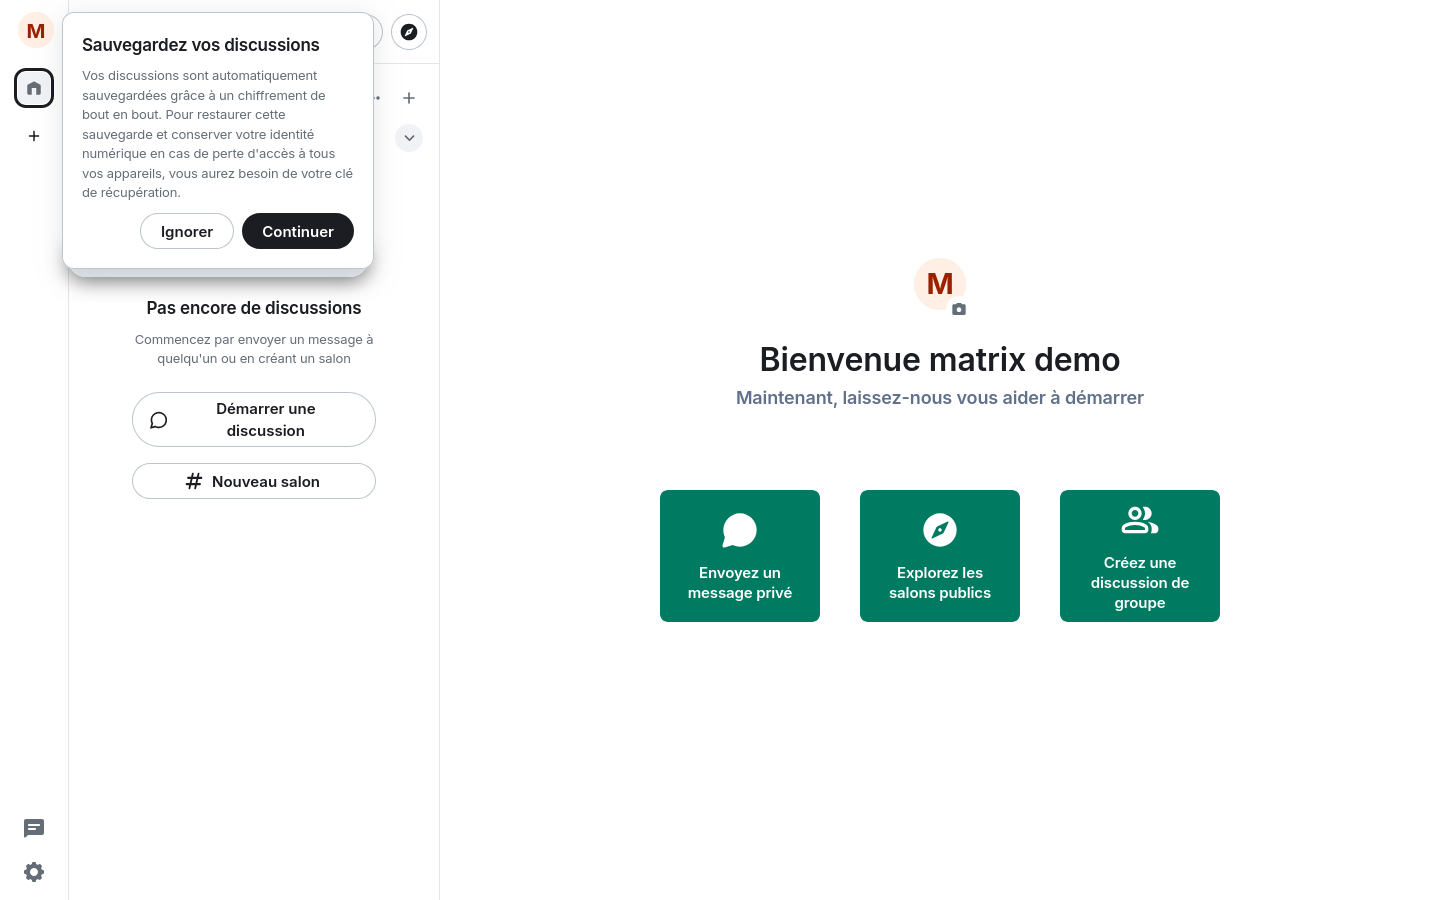
On first opening, a banner titled « Sauvegardez vos discussions » (Save your conversations) appears:
“Your conversations are automatically saved thanks to end-to-end encryption. To restore this backup and preserve your digital identity in case of loss of access to all your devices, you will need your recovery key.”
Click Continuer (Continue) (the Ignorer (Ignore) button closes the banner without any configuration — you can return to it later, see § 3.3).
The recovery key is a 44-character phrase divided into 11 groups of 4. It is the only way to: - recover the history of your encrypted conversations on a new device; - preserve your verified identity if you lose access to all your devices.
Without it, this data is permanently lost (end-to-end encryption means that no one — not even the administrator or the school — can restore it).
Generating the Key✯
After clicking “Continuer”, the Settings → Encryption window opens directly. Otherwise: ⚙ Quick Settings (bottom left) → All Settings → Encryption tab.
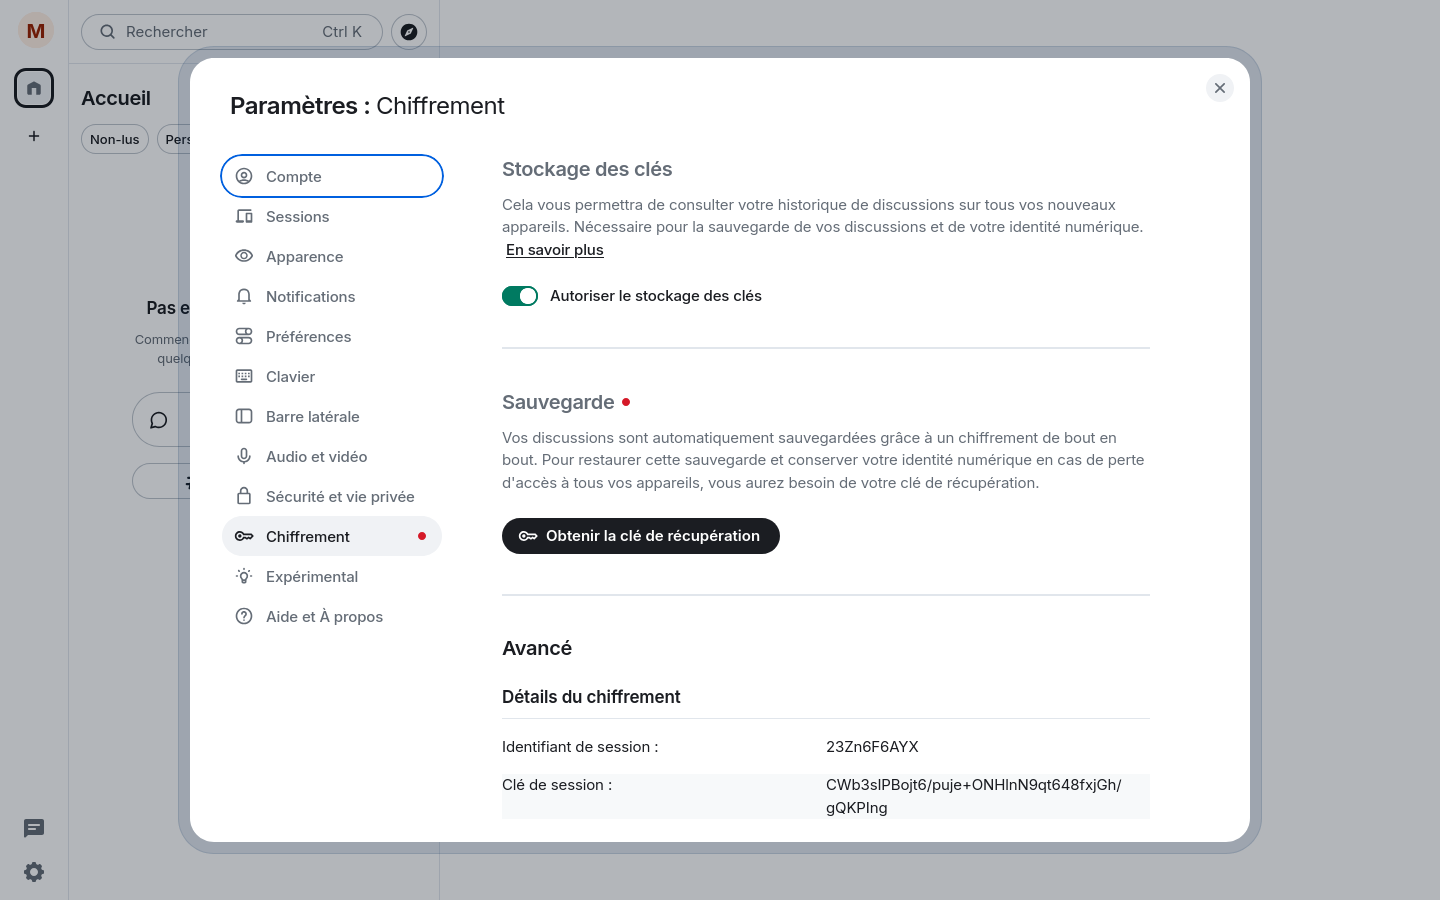
In the Backup section, click Obtenir la clé de récupération (Get Recovery Key).
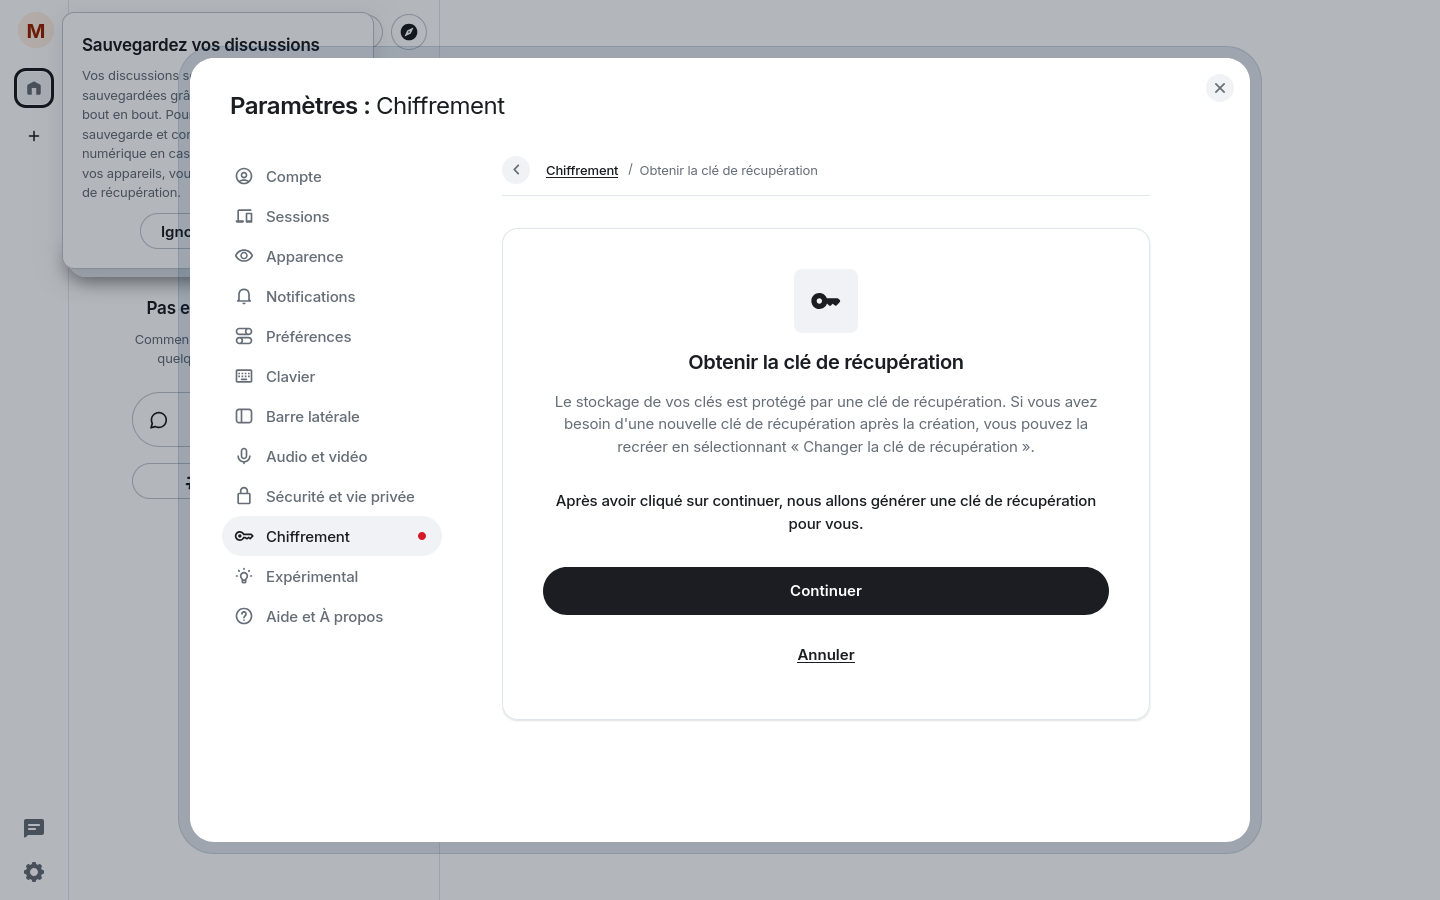
A first screen explains the operation (“After clicking continue, we will generate a recovery key for you.”): click Continuer (Continue).
Note the Key, Then Confirm It✯
Screen 1 — the key is displayed: “Save your recovery key in a safe place. Copy this recovery key to a safe place, such as a password manager, an encrypted note, or a physical safe.” — Do not share this with anyone!
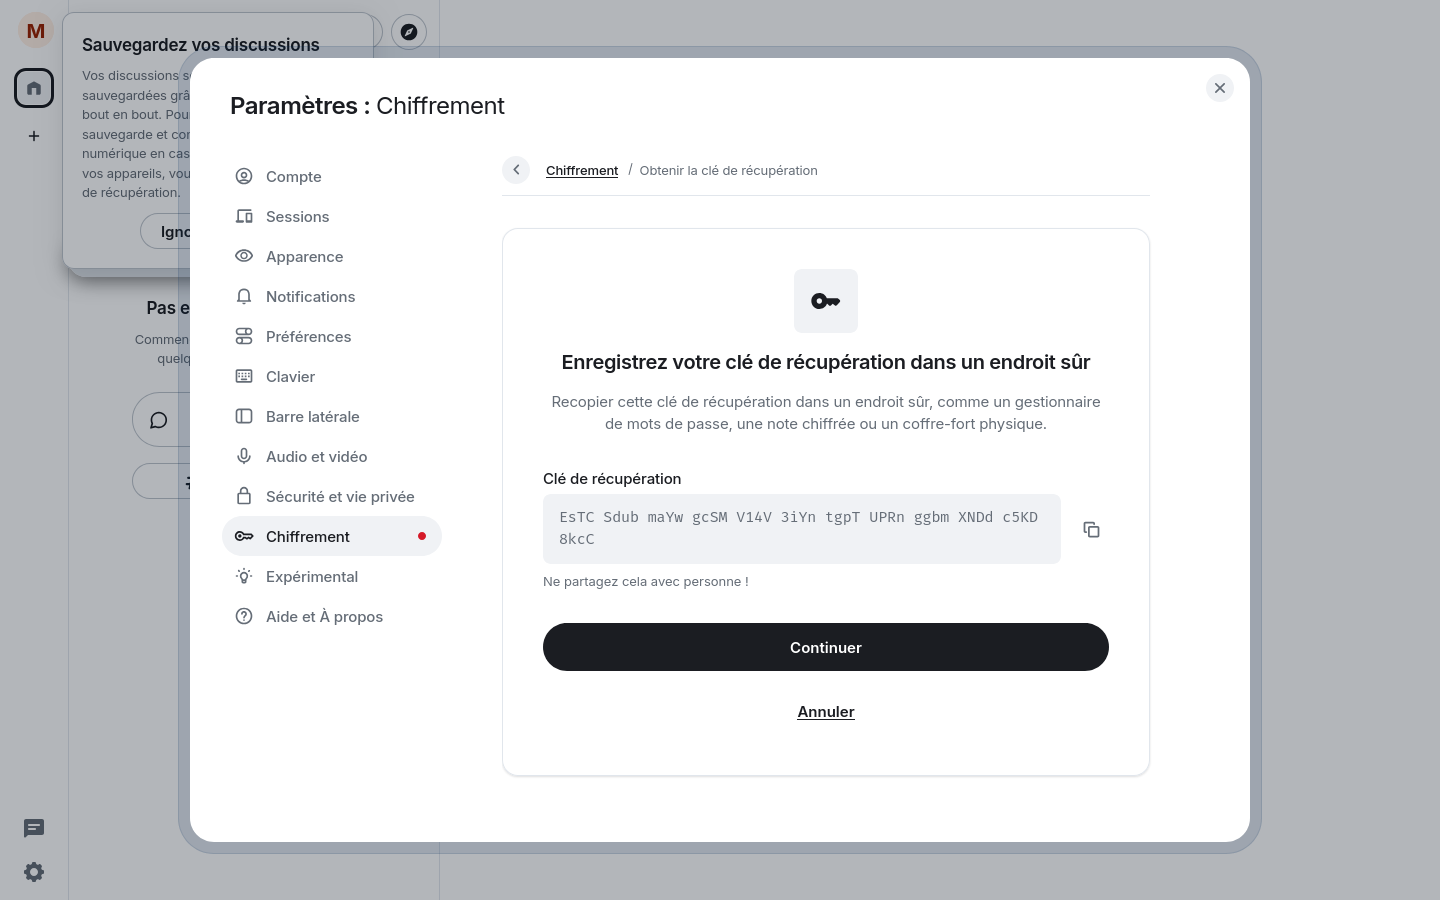
Copy it in full (spaces count) to: - a password manager (recommended method): Bitwarden, KeePass, 1Password…; - or a securely stored document, away from public workstations.
Then click Continuer (Continue).
Screen 2 — confirmation: “Enter your recovery key to confirm”. Re-enter the key exactly, then click Terminer la configuration (Finish Configuration).
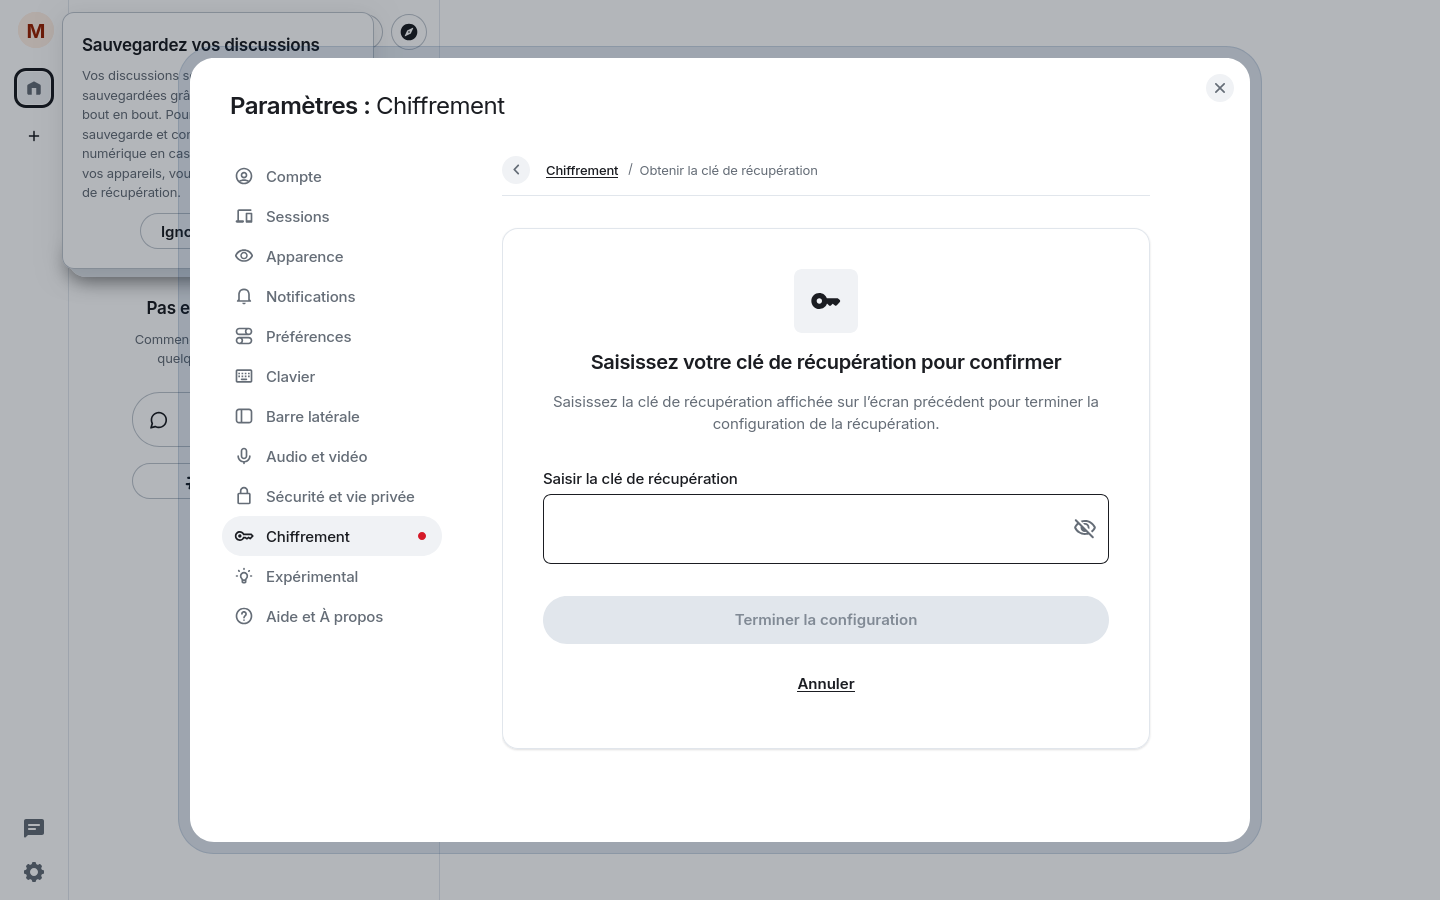
If the key is correct, configuration completes: in Settings → Encryption, the Backup section now displays “Change Recovery Key” (no longer “Get Recovery Key”): encrypted backup is active.
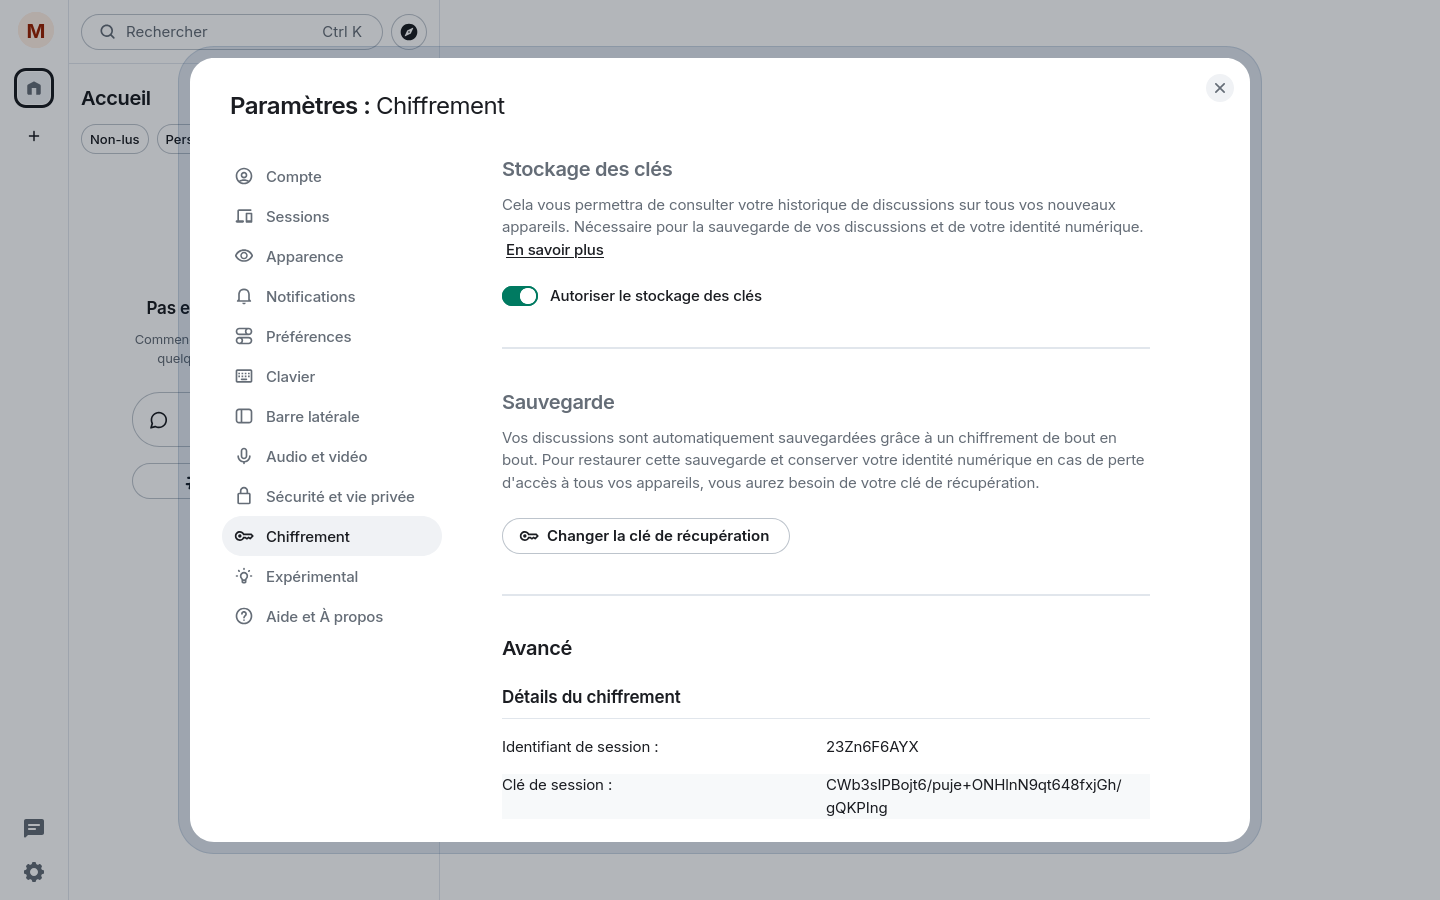
Where to find this step later? Quick Settings ⚙ → All Settings → Encryption → Backup section. The Change Recovery Key button allows you to regenerate a new key (the old one becomes invalid). Export Keys / Import Keys (Advanced section) lets you export room keys to a file, to be handled with care.
If You Clicked “Ignorer” (Ignore)✯
No problem: the process remains available at any time via Quick Settings ⚙ → All Settings → Encryption → Obtenir la clé de récupération (exactly the same window as described in § 3.1).
Joining Rooms✯
There are four ways to access a room depending on its type.
Via an Invitation (Private Rooms)✯
Private rooms (“invite-only”) do not appear anywhere until someone invites you. When this happens:
- In the left column, click the Invitations filter;
- The invitation appears with the room name and the person who invited you;
- Click Accepter (Accept) (or Rejeter (Reject) to decline).
The room then appears in your conversation list.
Via the Internal Public Room Directory✯
For public rooms created on the isima.fr server:
- Click the « Parcourir les salons » (Browse Rooms) button (compass icon above the conversation list) — or the « Explorez les salons publics » (Explore Public Rooms) button on the home page;
- The “Public Rooms” window opens with the source « Afficher : Matrix salons (isima.fr) » (View: Matrix rooms (isima.fr));
- Use the search bar to filter by name;
- Select a room and click Rejoindre (Join).
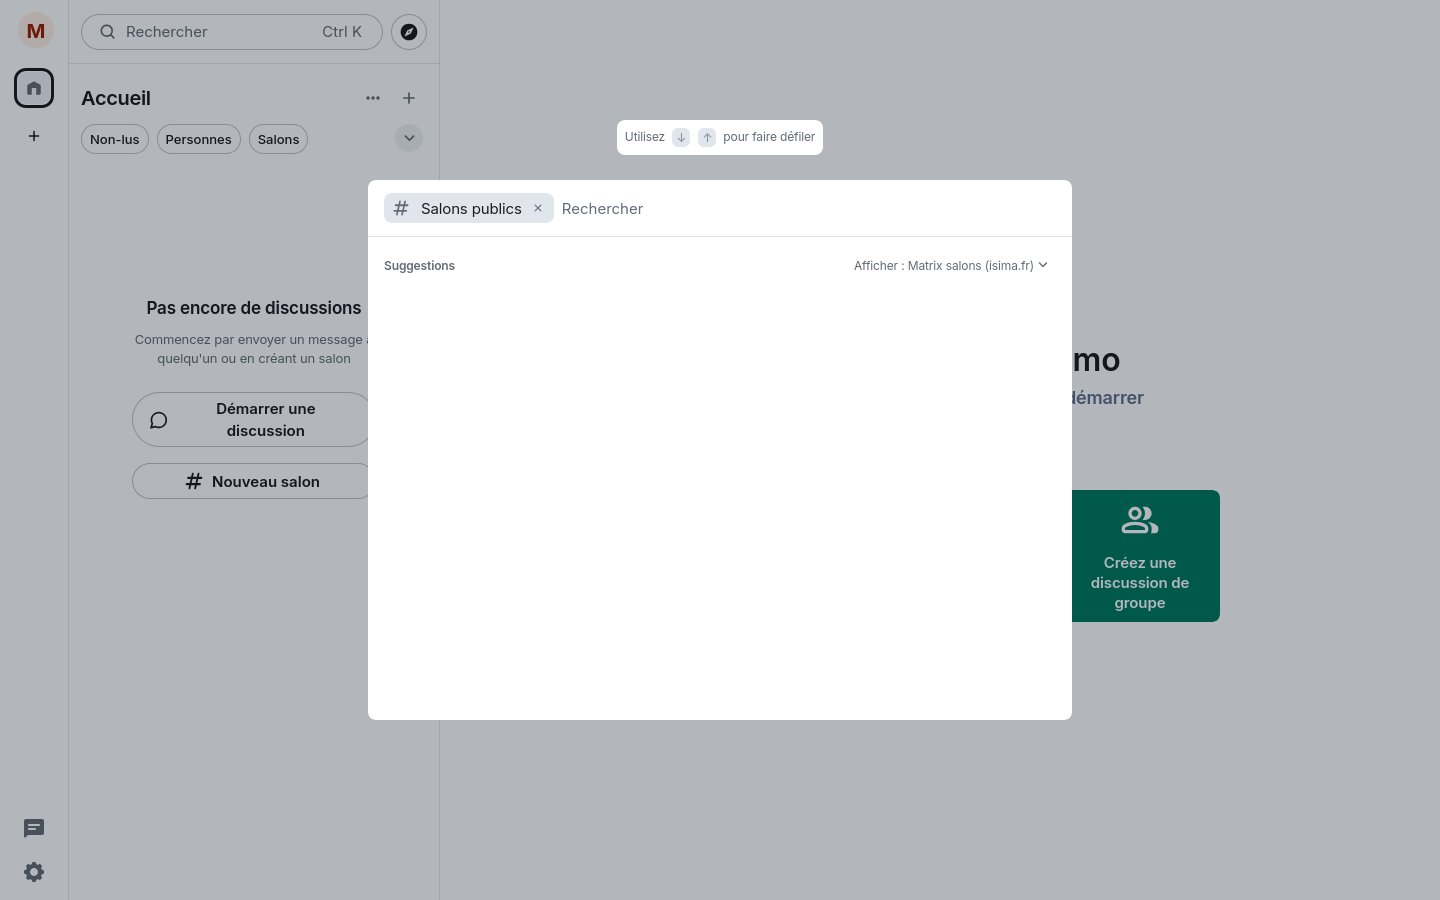
Note: this list only contains public rooms created on
isima.fr. If the list is empty, no public rooms have been published yet — ask a colleague for an invitation or create the room (§ 4.5).
Via a Room Address or Link✯
If you are given a room address (#room-name:isima.fr) or a link (https://matrix.to/#/...):
- Open search (Search button or Ctrl K shortcut);
- Paste the room address and validate;
- The room opens — click Rejoindre (Join) if it is public, otherwise an invitation request is required.
From Another Federation✯
Public rooms from other Matrix servers can also be accessed via search (Ctrl K) by entering their full address #room:server.org, if federation is enabled.
Creating a Room (and Inviting Colleagues)✯
New Room button (left column):
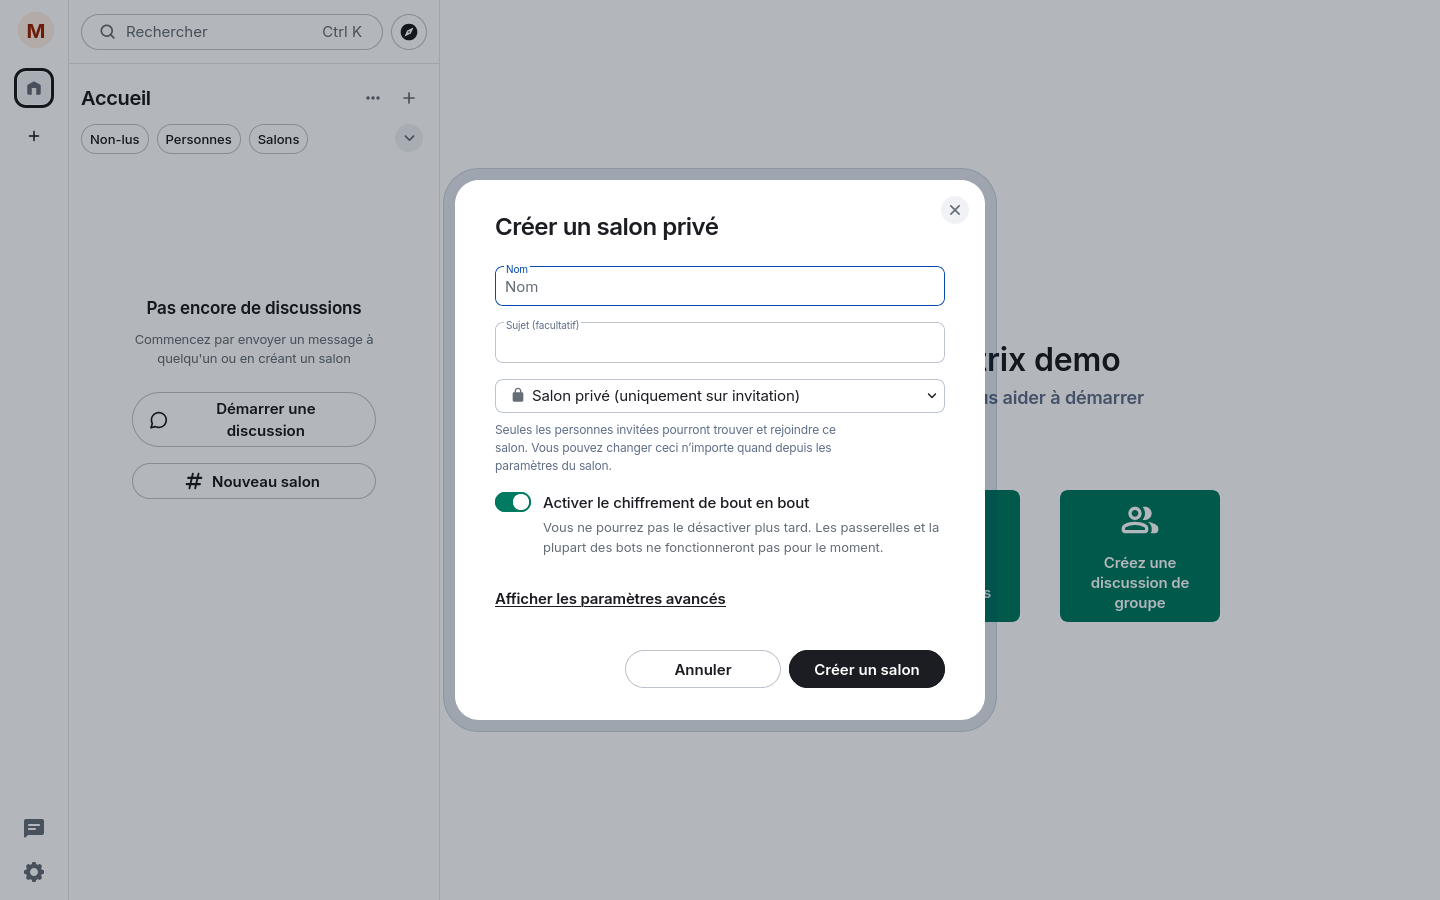
- Name of the room and topic (optional);
- Private room (default): only invited people can find it — uncheck to create a public room listed in the directory;
- End-to-end encryption: recommended (irreversible once activated; some gateways/bots may not work afterward);
- Click Créer un salon (Create Room).
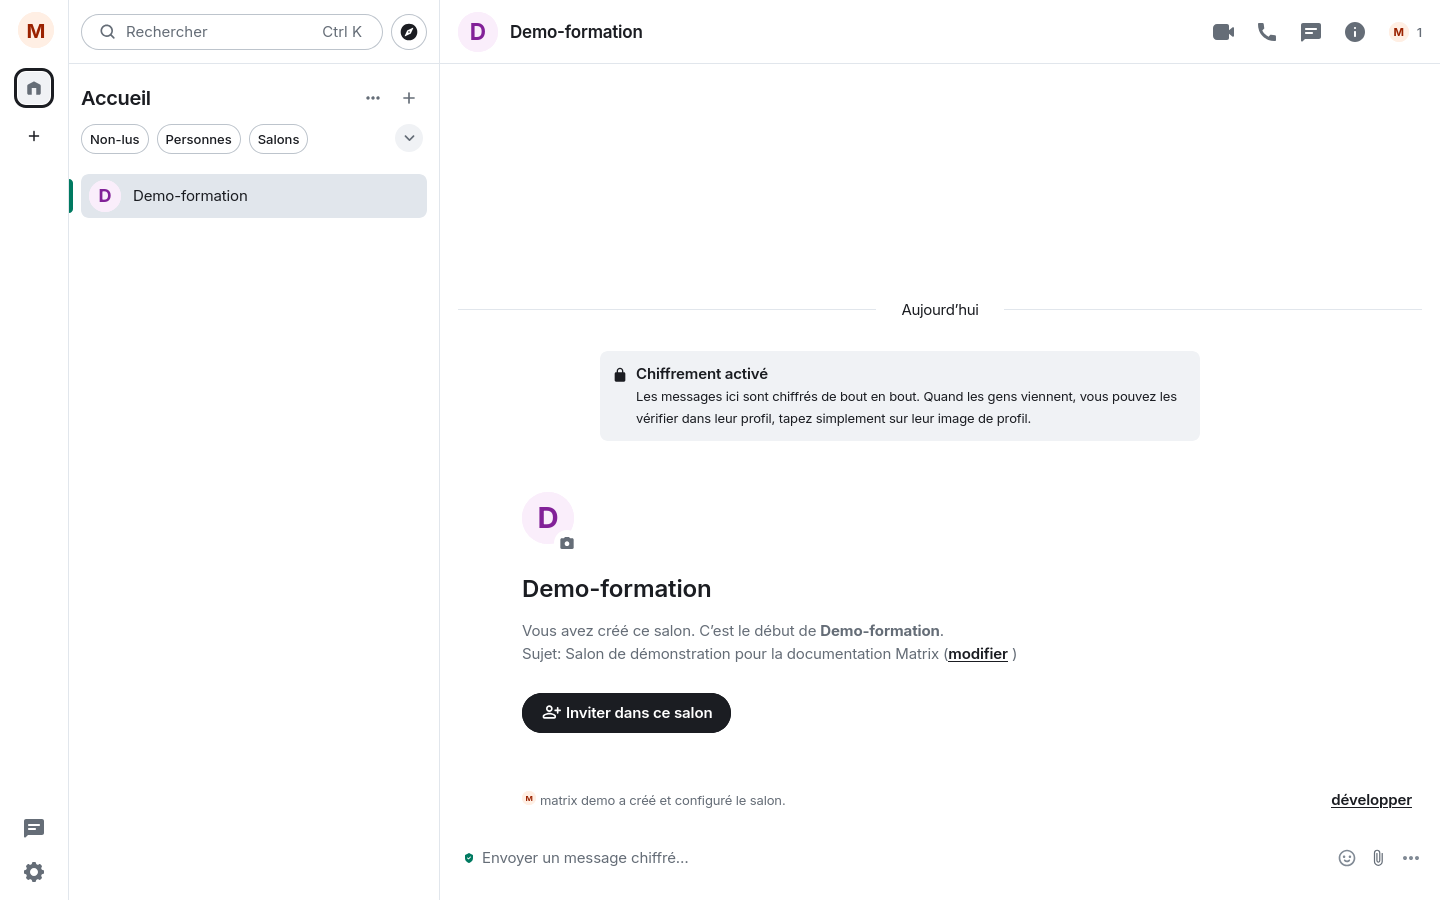
After creation, the invitation box opens: type a colleague’s name (@tibertra:isima.fr) to invite them. You can also use the People icon at the top right of the room → Invite to this room.
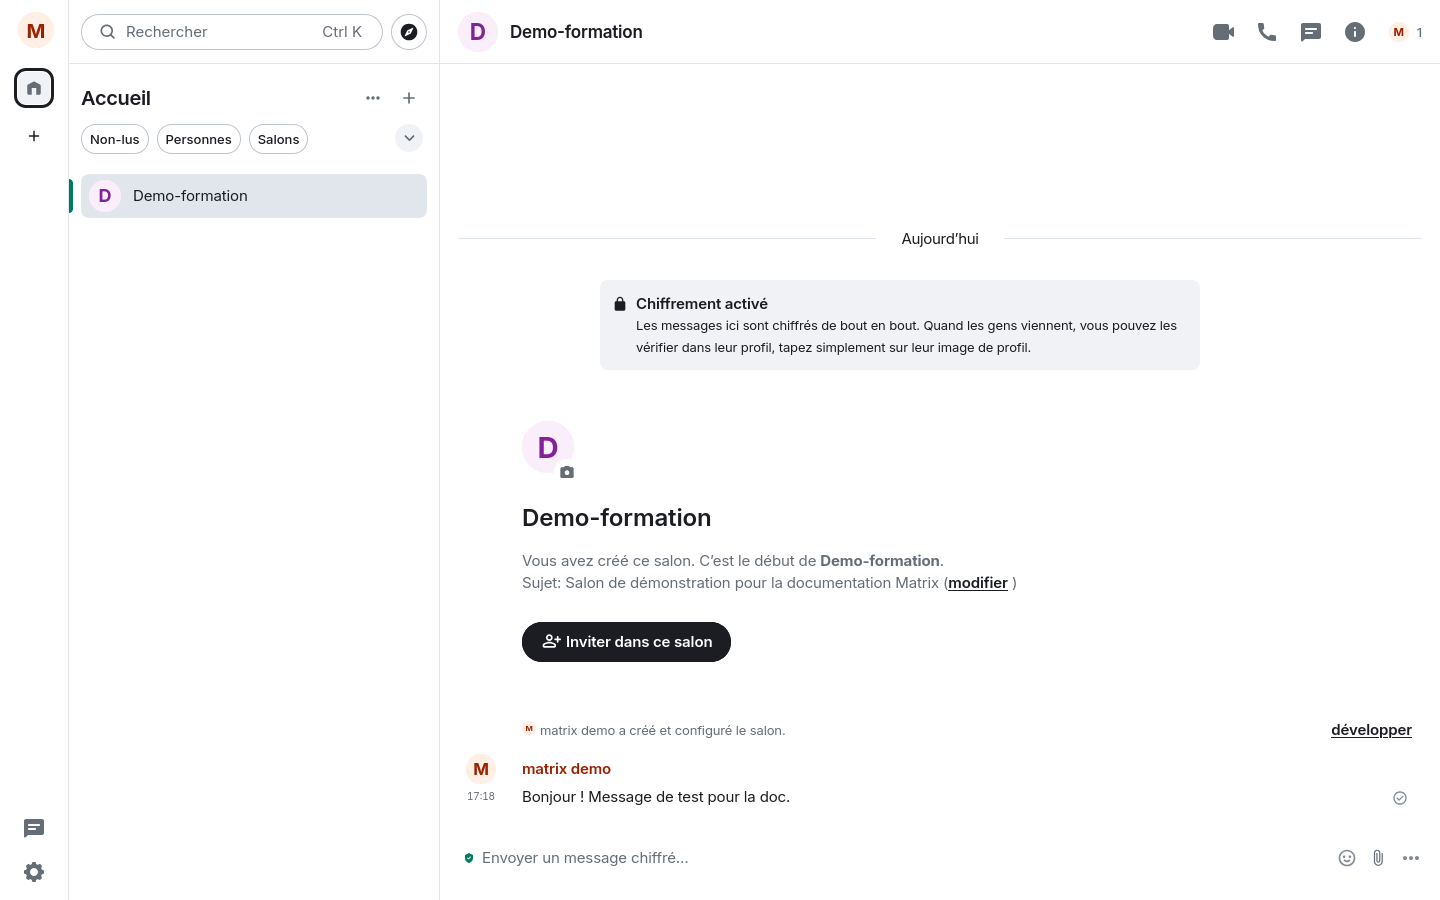
Finally, send a first message using the input box at the bottom of the screen:
Logging Out / Changing Workstations✯
- Your web session remains active in the browser you used. On a shared workstation, log out: avatar (user menu, top left) → Se déconnecter (Log Out).
- The list of your connected devices is visible in All Settings → Sessions — remember to remove any forgotten sessions.
- If you lose your recovery key before configuring backup, revisit the Save Your Recovery Key section; after configuring other devices, use “Change Recovery Key” from a still-unlocked device.
Going Further — Connecting Android and iOS✯
To install Element X on your phone and verify your new device (emojis, recovery key, encrypted history), follow the second part: