Microsoft Teams✯
- MS Teams is installed per session and will install at the first login. Once installed, MS Teams will launch automatically at login.
- You must have activated your Office 365 account to use MS Teams. See the activation procedure.
- Connecting to Teams requires your UCA email address and your Office365 password. Note: this is not necessarily the same password as your UCA account.
- If a Windows security alert (firewall opening) appears during your first Teams meeting, click Cancel. The Windows firewall configuration will still be modified even if the prompt is closed by selecting "Cancel". Two incoming traffic rules for teams.exe will be created with the allow action for TCP and UDP protocols.
More documentation on Teams here
Creating a Videoconference✯
This procedure allows you to generate a Teams videoconference link. This link can be shared with external participants.
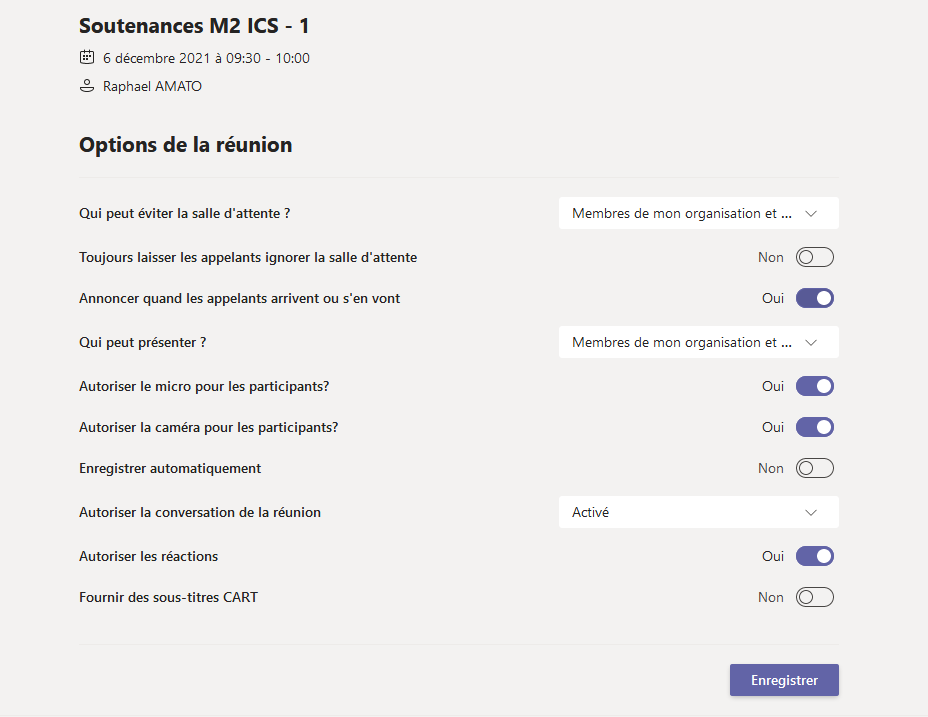
By default: - participants connecting with their UCA address: - are directly connected to the videoconference - are defined as presenters - other participants are placed in a waiting room. They will access the conference after their presence is validated (by a member connected with their UCA address). - all cameras and microphones are enabled - chat is active - the conference is not recorded
From the Teams client: - Connect (or ensure you are connected) with your Microsoft account associated with your UCA email address. The identifier is the UCA email address, the password is the one you defined when creating your Microsoft account
The Microsoft account password is not necessarily the same as your UCA account password
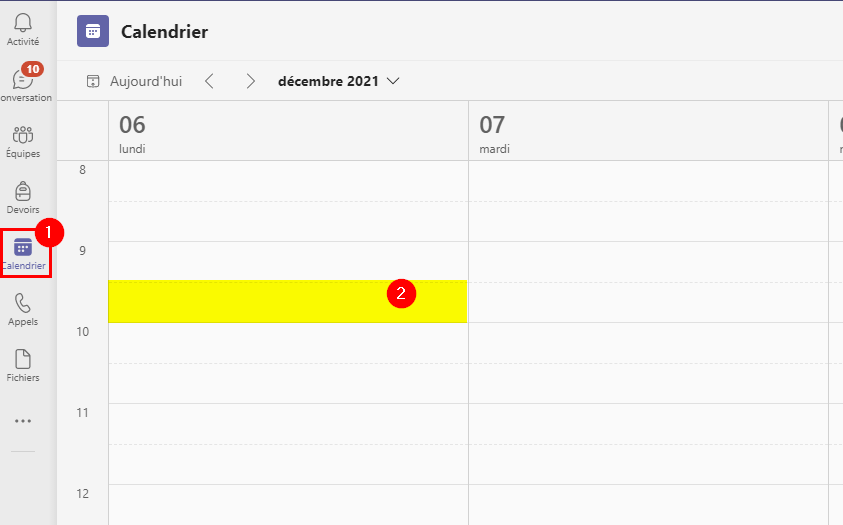
- Open the Teams client calendar. Double-click on a time slot to create a new videoconference. (The chosen date has no impact on the link validity; the link is valid as soon as it is generated cf point 3)
- Name the conference and invite a member to generate the videoconference link (the chosen member is irrelevant, but they will receive a notification by email. Without a member, the link will not be created). This mandatory member can be removed once the link is obtained. Click 'Send' to create the conference.

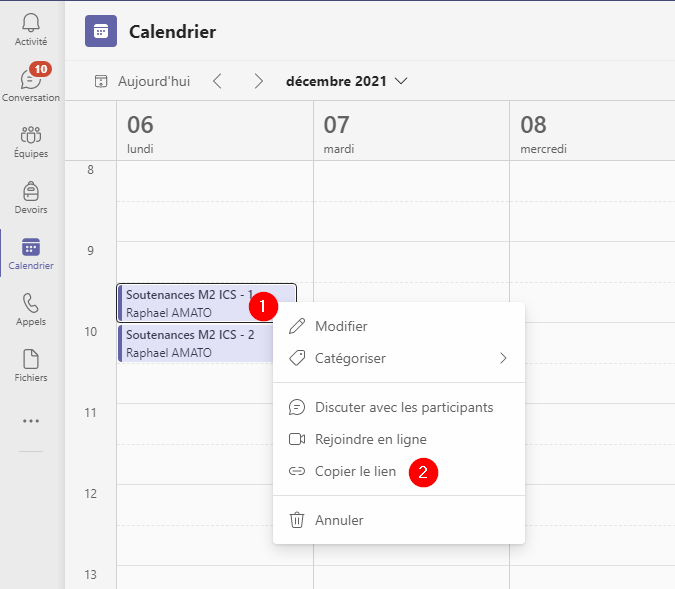
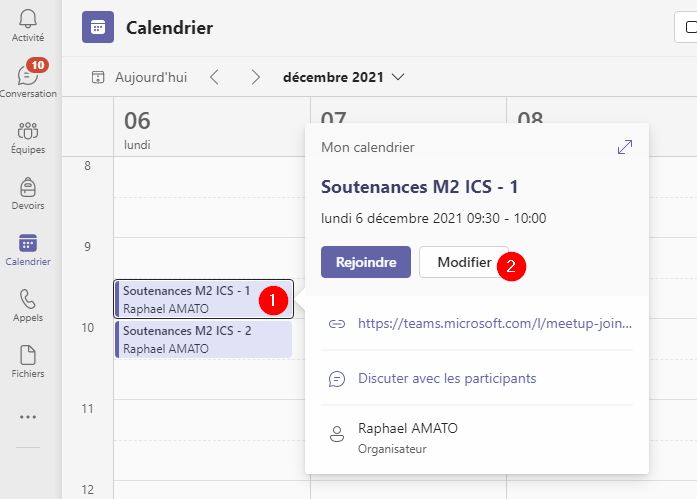
- In the calendar, right-click on the previously created conference, then click 'Copy link'. This link will be shared with the desired participants (internal UCA members, external and invited participants)
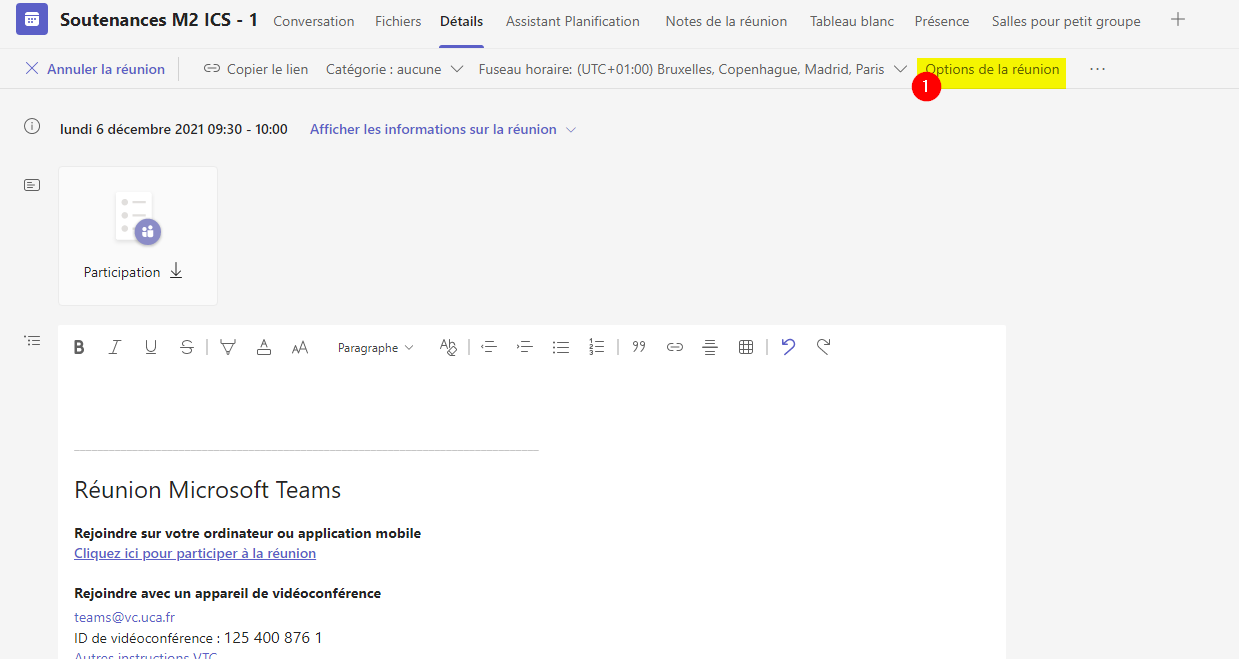
- [If you wish to remove the mandatory member OR modify the default videoconference options] In the calendar, right-click on the previously created conference, then click 'Edit'
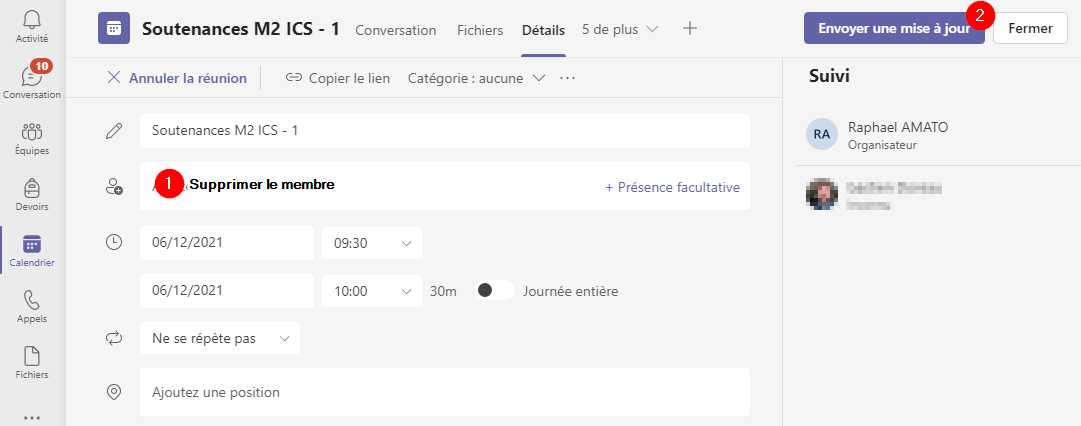
- [If you wish to remove the mandatory member] Click on the cross to the right of the participant to remove them. Click 'Send update' to validate.
- [If you wish to modify the meeting options] Click on meeting options. A browser will open, you must connect with your Microsoft account to access the meeting options