ownCloud✯
ownCloud is an online file hosting and sharing solution with a collaboration platform that integrates the OnlyOffice office suite.
An ownCloud server instance has been set up and allows ISIMA/LIMOS users to:
- have a cloud storage space to share data within the school and laboratory, as well as with external individuals
- access their personal space (~/shared directory or Personal Network Drive (P:)
- collaborate with the integrated online office suite on Word, Excel, etc. documents
- synchronize their ownCloud space with their workstation
You can access your ownCloud directory:
- via the web using the URL https://owncloud.isima.fr or https://owncloud.limos.fr by logging in with your UCA credentials
- by installing an ownCloud client and synchronizing it with your account
ownCloud Web Interface✯
After logging in, ownCloud is displayed in two panes.
In the first pane, you will find:
- The files in your ownCloud space
- Files that others have shared with you

In the second pane, you will find:
- The list of favorited folders
- Folders/files shared with you
- Folders/files you share with people who have an ownCloud account
- Folders/files you share via an external link
- Tagged files/folders
- Access to external storage (personal drive / ~/shared)
- The trash bin
- Some settings
Shared Directory✯
Since early 2024, the shared directory is no longer automatically accessible from ownCloud. You must follow this procedure to restore access:
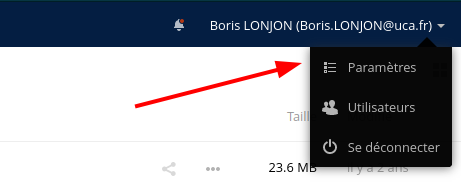
Go to ownCloud settings:
Then, in the Storage section of the left pane, add an SFTP storage. Enter the following information:
- Folder name:
shared - Authentication:
Username and password - Host:
shared - Root:
/home/local.isima.fr/<UCA login> - Username:
<UCA login> - Password:
<UCA password>

You should see a green dot appear to the left of the line.
Return to your files by clicking the  button.
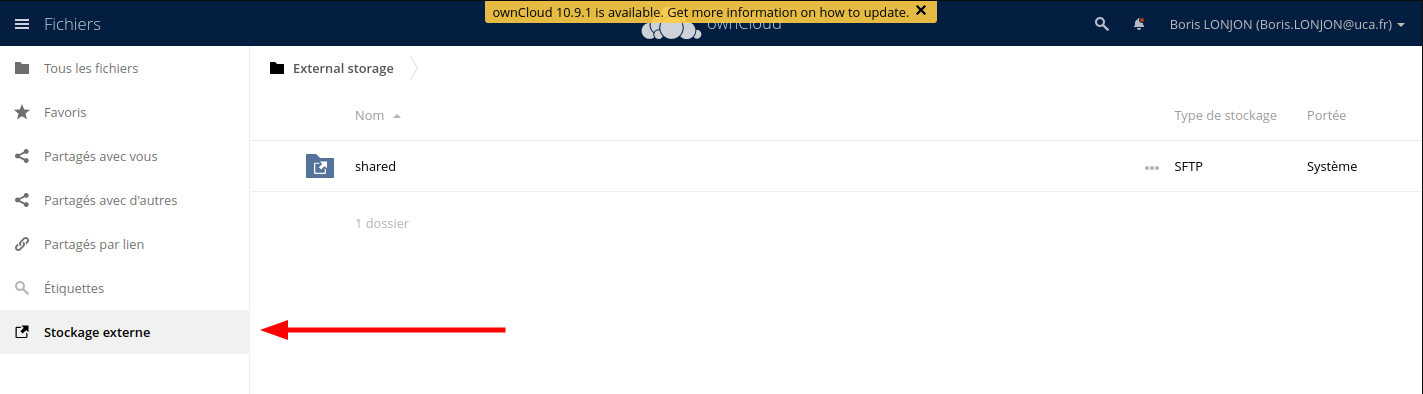
Now, in your file list, you should see the shared directory. The data in this directory is not stored on the ownCloud service; it is a link to your ~/shared directory or Personal Network Drive (P:)

You can also access your shared directory by clicking External Storage in the left banner:
Limited functionality for files and directories stored in shared
You cannot share them with others You cannot use the integrated OnlyOffice online office suite
Since the shared directory is simply an entry point to your personal space (or dirs), any addition, modification, or deletion of files or folders in your personal space (or dirs) via another method than ownCloud will be reflected in this directory.
Conversely, any deletion/modification made from ownCloud will be reflected in your personal space (or dirs)
Adding/Deleting Files or Folders✯
Above your files, you will see a + (see the first screenshot in this documentation), which allows you to create a folder or an office-type file.
To delete a file or folder, click the three small dots on the right of each file/folder to open the available options for the selected item. You will find the option to delete this item, of course.

Downloading Documents✯
To download documents:

Selecting Multiple Documents✯
If you want to perform an operation (deletion or download) on multiple documents at once, click the icons of these files:
Sharing in ownCloud✯
Receiving a Share✯
When someone shares a document with you, you will receive an email notification and another notification appears in the ownCloud interface (notifications are found under the bell icon at the top of the interface).
The document does not appear directly in your files; you must approve it via the notification first.
The share then appears at the base of your ownCloud tree, and you are free to move this document within your files as you wish.
Find shares made with you at any time!
The list of shares made with you is located in the Shared with you tab in the right pane."
Sharing Files/Folders Internally✯
You can share files or folders with any ISIMA or LIMOS member by clicking the share icon 
Then enter the first name and last name, email address, or username of the person you want to share the document with and validate.
You can share with individuals or with groups of people. For example, you have student classes (zz1, prepinp1, m2_siad...), as well as teaching, administrative, and research staff (enseignants_isima, chercheurs_limos, administratifs_isima...).
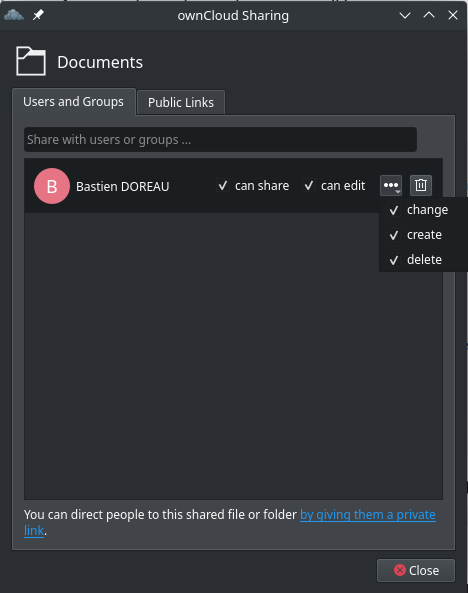
You can then choose what actions you allow on your share and set an expiration date for the share. You do not need to click "Notify by email"; people you share with automatically receive an email notification. This button is useful for resending a notification

Once done, the file/folder is marked as shared, and clicking the share icon again allows you to modify the share settings.
The recipient(s) of the share will be notified of the new share by email and in the ownCloud interface
You can allow people you share with to edit files.
TODO: Sharing with Custom Groups✯
Sharing Files/Folders with External Individuals (Public Link)✯
You can also share files or folders with people outside our services by creating a public link. You can protect your share with a password.
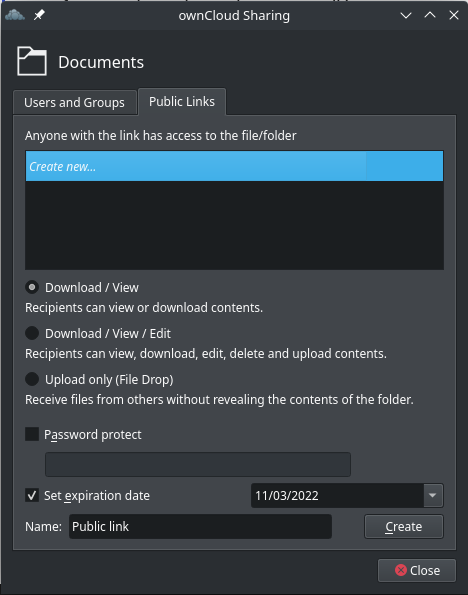
Click the share icon , then on Public Links and finally on the Create public link button. A window opens allowing you to choose a name for your share and the type of share you want to create.
You can:
- Allow people in the share to only view and download the content
- Allow people in the share to view, download, add, and edit the content
- Allow people in the share to view, download, add, edit, and delete the content
- Create a file drop (Upload only) Very useful for collecting documents from one or more people
- Protect with a password (Recommended for public links)
- Set an expiration date
- Leave a note for recipients by email
You can also create multiple links to give different permissions to these shares based on the recipients.

You can then manage your share with the four icons next to it:

- The first icon allows you to copy the HTTP access link to your clipboard. You just need to paste (CTRL+V) the address to share it with your recipients.
- The second allows you to reconfigure the share (see above)
- The third allows you to share directly on social networks (Twitter, Facebook, Diaspora, and by email)
- The last allows you to delete the share
Share Confidentiality
Be aware that anyone with the public link can access your share according to the permissions you have granted. It is recommended to use a password that you will share with your correspondent to secure your share
Creating a File Drop✯
ownCloud allows you to create a public file drop. If you need to collect documents from multiple collaborators or students, you can do so using file drops.
To do this, simply create a folder and share it publicly. You can then check the Upload only (File Drop) option.
Similarly, you can require a password to upload files and you can also set an expiration date for the drop.
Displaying Hidden Files✯
To display hidden files in the browser, click Settings at the bottom left of the window.
Then check the box "Show hidden files":
File Versions✯
When you modify a file in ownCloud, a version of the file is kept each time you make changes to it.
To view, download, or restore a previous version of a file, click on the right side of the file to display the sidebar, then click Versions. By clicking the small downward arrow, you download the file version to your workstation; by clicking the time, you open the document in OnlyOffice or download it; and by clicking the rotating arrow, you restore the file in place of the current one.
OnlyOffice✯
The OnlyOffice solution was set up in conjunction with the ownCloud service. It allows you to view and edit office documents directly online. You can collaborate on a document by sharing it with one or more people; you can then edit the document simultaneously with multiple people.
Here is the list of file types supported by OnlyOffice:

You can chat with people connected to the document by clicking the button  located to the left of the document.
- Using OnlyOffice
- OnlyOffice in multi-user mode
ownCloud Client✯
Windows / Mac✯
Client Installation✯
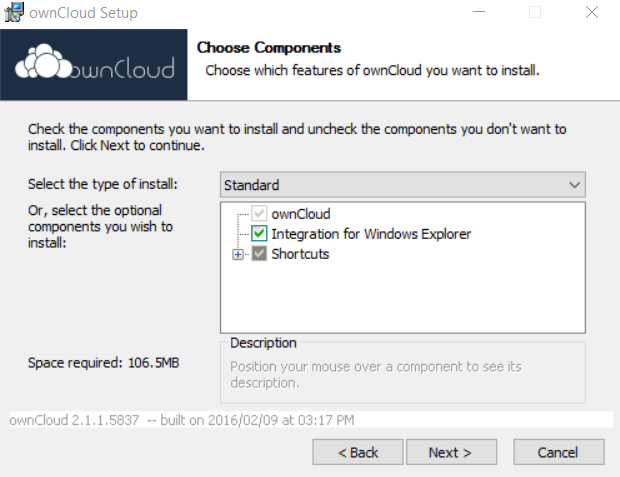
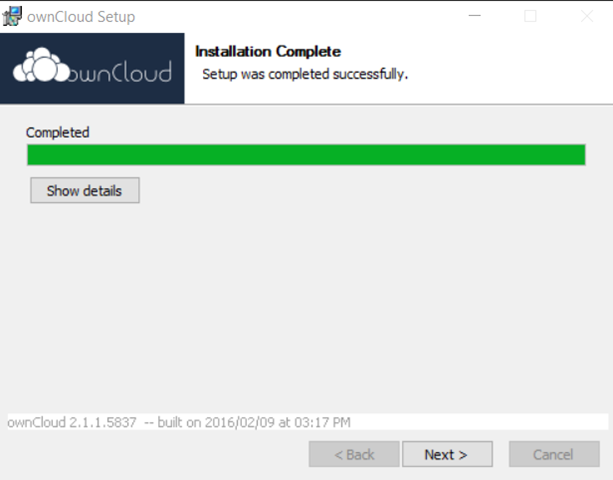
Installing and configuring the ownCloud client involves several steps:
- Download the client here and select Windows or Mac
- Launch the installation, keeping the default settings (remember to check the "Integration with Windows Explorer" box)
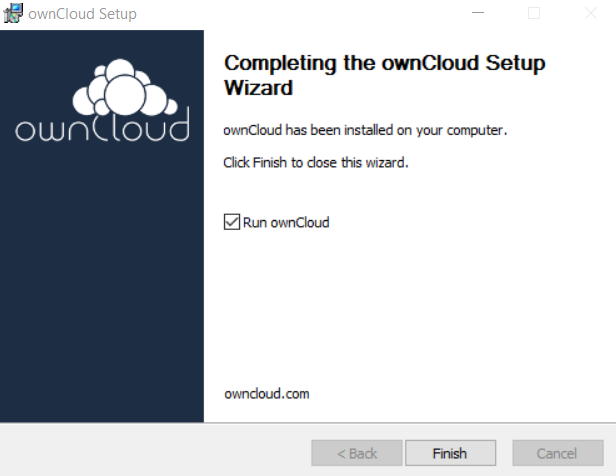
- Launch ownCloud
- Synchronize the client with your account by clicking
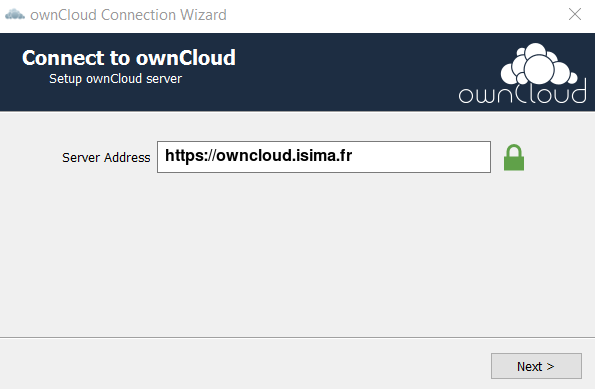
Log in to your ownCloud - Enter the URL
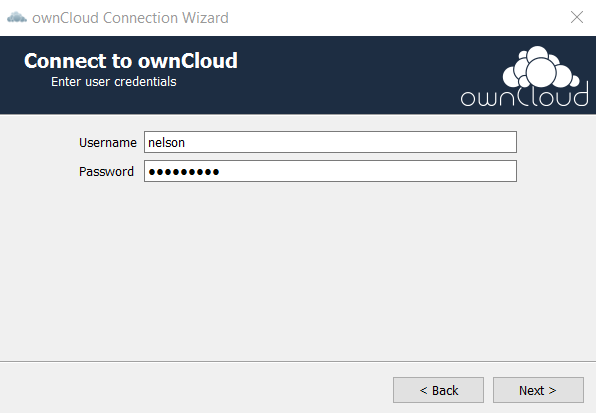
https://owncloud.isima.frorhttps://owncloud.limos.frin the field and click Next - Enter your UCA credentials (if you are already logged in via the web, this is automatic)
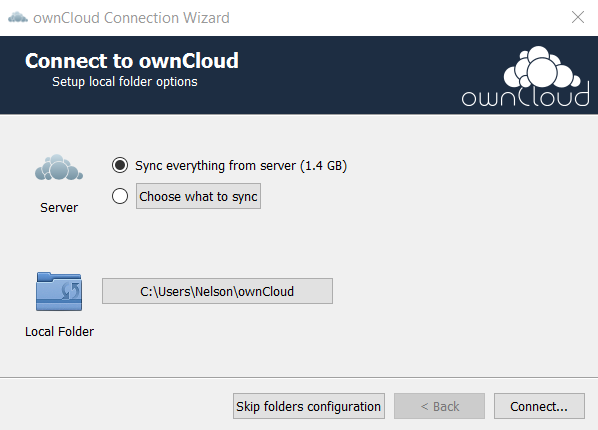
- Choose whether you want to synchronize all your files in your local
ownCloudfolder or only certain directories
Here is the procedure in images:
| Installation Assistant | ownCloud Client |
|---|---|
 |
 |
 |
 |
 |
 |
 |
 |
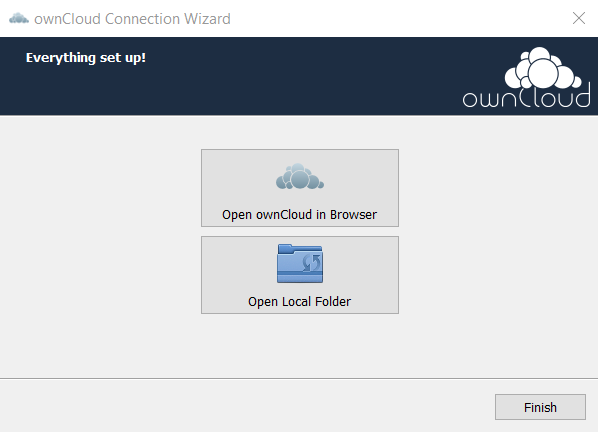 |
You will now see a new ownCloud folder in c:\users\<your_uca_login>\ containing the folders and files you chose to synchronize.
Using the Client✯
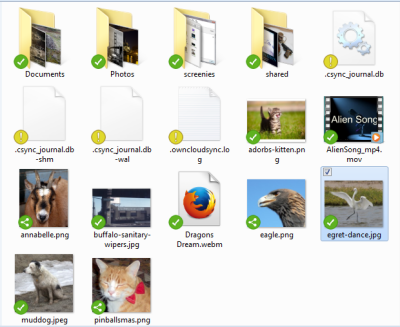
In the ownCloud synchronization folder, a small icon is added to each file to indicate its synchronization status (synchronized, sync error, shared...)
You can create and manage your shares the same way as via the web interface (if you remembered to check the "Integration with Windows Explorer" box during installation)
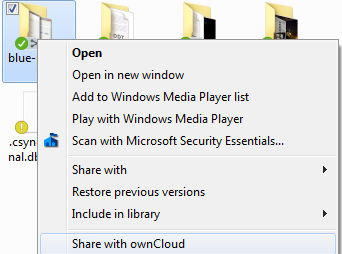
Click Share with ownCloud, then you can:
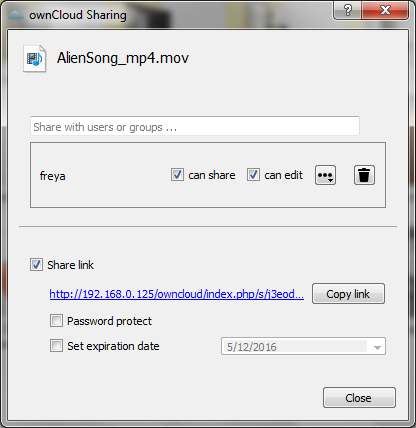
- share a file directly with internal users -> click
Share options - create a public share and retrieve the link (accessible to all)
- manage share permissions
- create an access password
- set an expiration date
ownCloud Client for Linux✯
Client Installation✯
Warning: Do not install the ownCloud client in AppImage format found on the website
Use the package manager instead
Open a terminal and type the following commands:
wget -qO - https://download.opensuse.org/repositories/isv:ownCloud:desktop:daily:2.6/Ubuntu_20.04/Release.key | sudo apt-key add -
echo 'deb http://download.opensuse.org/repositories/isv:/ownCloud:/desktop:/daily:/2.6/Ubuntu_20.04/ /' | sudo tee /etc/apt/sources.list.d/isv:ownCloud:desktop:daily:2.6.list
sudo apt update
sudo apt install owncloud-client
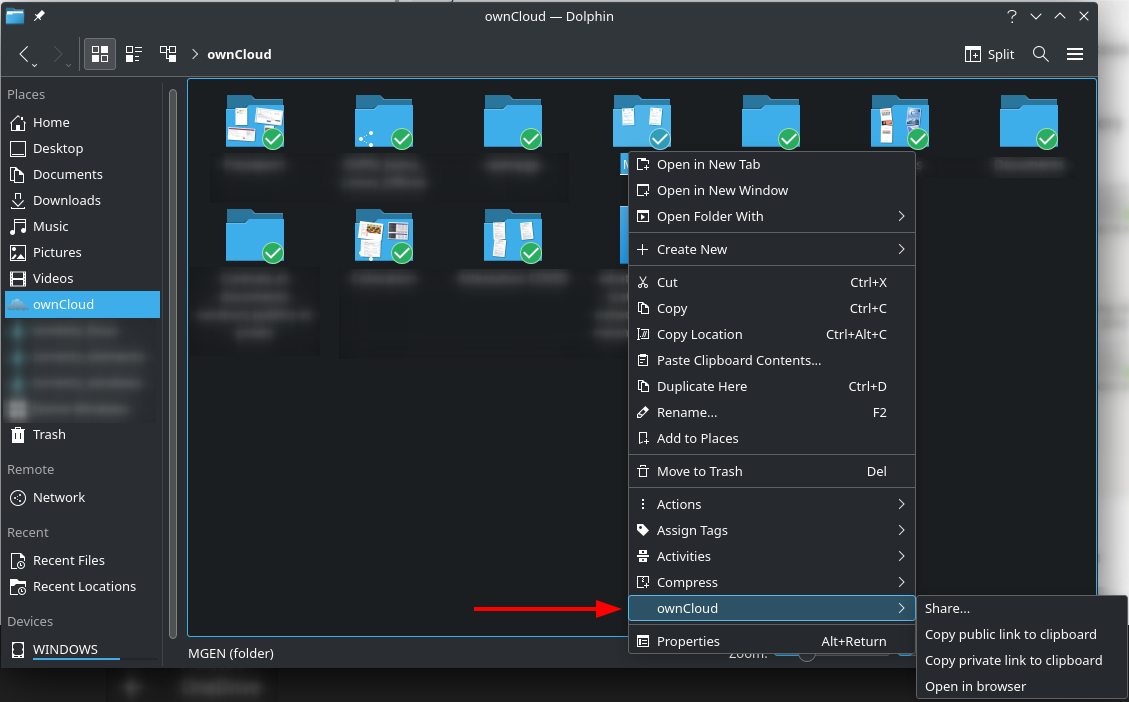
It is possible to integrate the ownCloud client with your file explorer (if supported), which allows you to have an ownCloud action menu in your context menu (right-click). You can manage shares directly from your explorer, and a small status logo lets you know if your files/directories are correctly synchronized with the server.
The package to install depends on the desktop environment you use:
- Standard Ubuntu (Gnome Shell):
sudo apt install owncloud-client-nautilus - Kubuntu (KDE Plasma):
sudo apt install owncloud-client-dolphin - Ubuntu MATE (MATE):
sudo apt install owncloud-client-caja - Ubuntu Budgie (Budgie):
sudo apt install owncloud-client-nautilus - Ubuntu Cinnamon (Cinnamon):
sudo apt install owncloud-client-nemo - Linux Mint (Cinnamon):
sudo apt install owncloud-client-nemo
The easiest way to know which file explorer you are using is to type its name in a terminal and see if the application is installed:
nautilus
dolphin
nemo
caja
Depending on which are installed, you can choose which of the above commands to use.
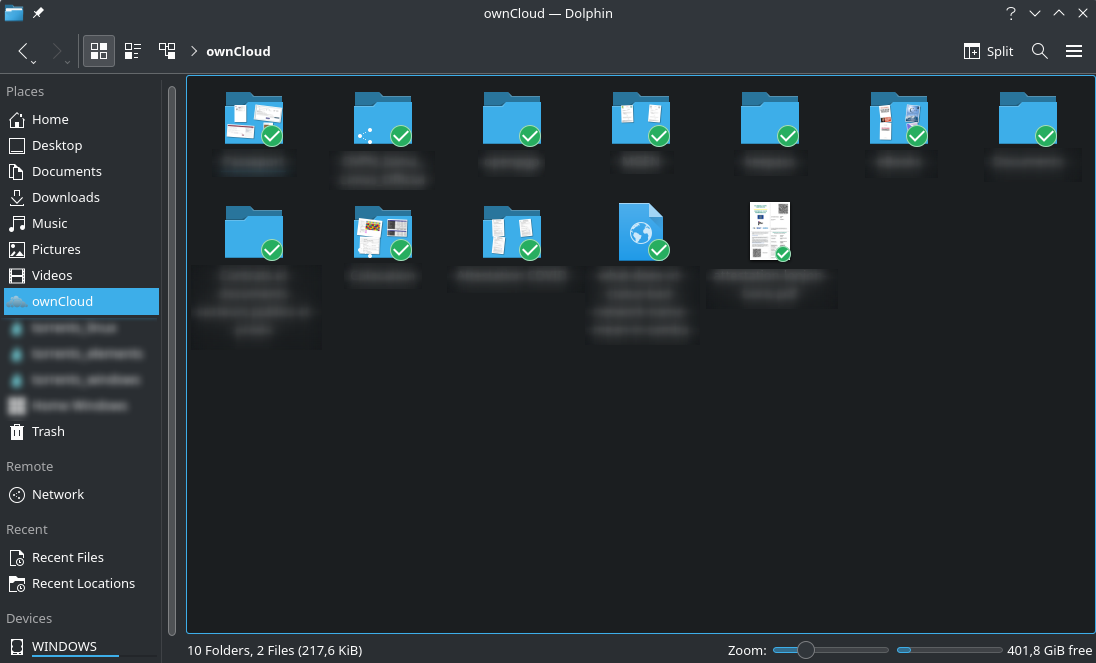
Using the Client✯
A directory named ownCloud is automatically mounted in your home directory ($HOME/ownCloud, ~/ownCloud). A small icon is added to each file to indicate its synchronization status (synchronized, sync error, shared...)
You can create and manage your shares the same way as via the web interface (if you installed the owncloud-client-<nautilus|dolphin|nemo|caja> package, see above)
Hover over ownCloud, then click Share
A window opens, and you can then:
- share a file directly with internal users -> click
Share options - create a public share and retrieve the link (accessible to all)
- manage share permissions
- create an access password
- set an expiration date